Peanut Butter Rice Krispie Treats

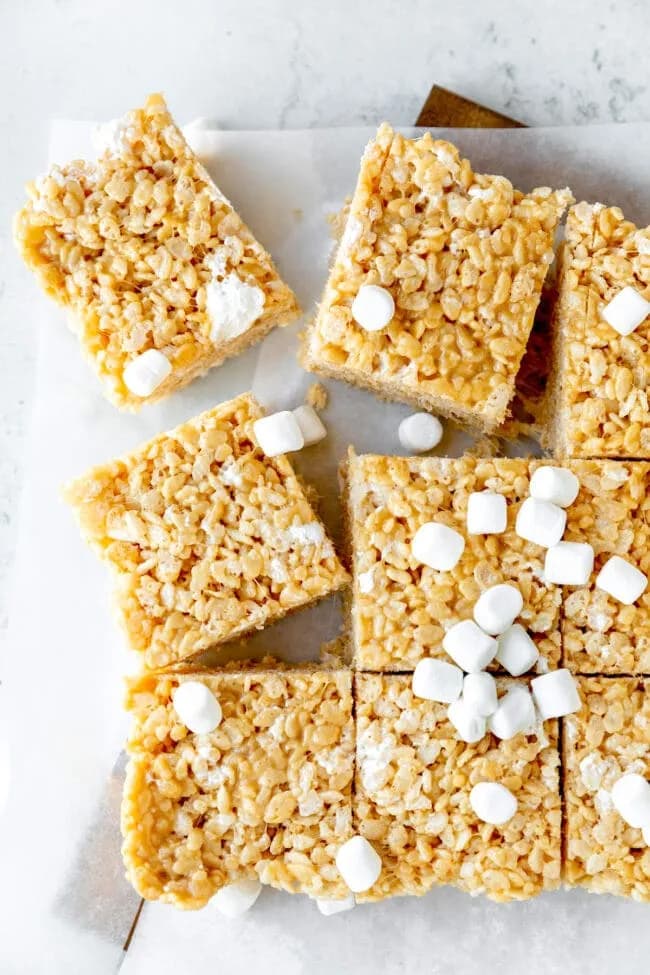
These Peanut Butter Rice Krispie Treats are a gooey, salty-sweet no-bake dessert with just 6 ingredients. Perfect for peanut butter lovers! Get the easy recipe.
These pair naturally with what you’re making now: Cinnamon Toast Crunch Rice Krispie Treats, Scotcheroos, Rice Krispie Treats, or Brown Butter Biscoff Rice Krispie Treats.
The Gooey Secret Behind These Peanut Butter Rice Krispie Treats
These Peanut Butter Rice Krispie Treats are my go-to no-bake dessert when I need something sweet fast. The combination of creamy peanut butter and gooey marshmallow creates a salty-sweet flavor that’s hard to beat. With just 6 ingredients, they come together in about 10 minutes of work, then you just need to wait an hour for them to set. Trust me, it’s worth it.
Why You’ll Love These 6-Ingredient No-Bake Treats
- Only 6 ingredients, many of which you probably already have in your pantry.
- The extra cup of mini marshmallows stirred in at the end makes these treats extra gooey.
- That salty-sweet combo from the peanut butter and flaky sea salt is absolutely addictive.
Key Ingredients for Perfect Peanut Butter Rice Krispie Treats
- Butter: Use unsalted butter to control the salt level. Salted butter could make the treats too salty, especially with the added sea salt.
- Mini marshmallows: You’ll need a 16 oz bag plus an additional cup for stirring in at the end. Mini marshmallows melt more evenly than large ones.
- Peanut butter: Creamy peanut butter works best for a smooth texture. I don’t recommend crunchy, as it can interfere with the gooeyness. Natural peanut butter that separates may cause graininess.
Tools You’ll Need for Peanut Butter Rice Krispie Treats
- 8×8 or 9×9 square baking pan: Either size works; the treats will be thicker in the 8×8.
- Large pot: For melting the marshmallows and mixing everything.
- Spatula: Grease it to prevent sticking when pressing the mixture into the pan.
Tips for Making the Best Peanut Butter Rice Krispie Treats
To keep these Peanut Butter Rice Krispie Treats soft and chewy, resist the urge to press the mixture down too hard in the pan. A gentle, even press is all you need, packing them tight will make them dense and hard. Grease your spatula or hands with a little butter or nonstick spray to avoid sticking. Also, let the treats cool completely (about an hour) before cutting; if you cut too soon, they’ll fall apart.
Peanut Butter Rice Krispie Treats Variations to Try
If you want to mix it up, try swapping the creamy peanut butter for chunky peanut butter for extra crunch. For a chocolate twist, stir in a cup of mini chocolate chips along with the extra marshmallows. You can also make these treats dairy-free by using a plant-based butter alternative, just make sure it’s a good quality one that melts well.
Serving Ideas for Peanut Butter Rice Krispie Treats
These Peanut Butter Rice Krispie Treats are perfect on their own, but you can dress them up for a party. Drizzle melted chocolate over the top before they set, or sprinkle with extra flaky sea salt. They’re also great crumbled over ice cream for a sundae topping.
How to Store Leftover Peanut Butter Rice Krispie Treats
Store leftover treats in an airtight container at room temperature for up to a week. If your kitchen is warm, you can refrigerate them to keep them firm, just let them come to room temperature before serving for the best texture.
Freezing Peanut Butter Rice Krispie Treats for Later
These treats freeze beautifully. Cut them into squares, wrap each piece in plastic wrap, and then place them in a zip-top bag. They’ll keep in the freezer for up to 3 months. Thaw at room temperature for about 20 minutes before eating.
How to Reheat Peanut Butter Rice Krispie Treats
While these are best at room temperature, you can microwave a treat for about 10 seconds to soften it up. Just be careful not to overdo it, or the marshmallow will get too sticky.
Peanut Butter Rice Krispie Treats FAQs
Can I use crunchy peanut butter instead of creamy?
Yes, but the texture will be chunkier. The treats will still be delicious, but the peanut butter won’t blend as smoothly into the marshmallow mixture.
How do I cut clean squares without sticking?
Grease your knife with a little butter or nonstick spray before cutting. Wipe the blade clean between cuts for the neatest edges.
Can I use regular-sized marshmallows instead of mini?
You can, but they won’t melt as evenly. If you use large marshmallows, chop them into smaller pieces before melting to speed up the process.
Why did my treats turn out hard?
You probably pressed the mixture too firmly into the pan. For soft and chewy treats, gently pat the mixture into an even layer without compacting it.
Recipe
Peanut Butter Rice Krispie Treats

Peanut Butter Rice Krispie Treats- traditional Rice Krispie treats just got better with the addition of peanut butter and you only need 6 ingredients! Peanut butter lovers are going to go crazy for these gooey, marshmallow cereal bars! Sweet, salty, and SO good!
Ingredients
- 6 tbsp unsalted butter
- 16 oz mini marshmallows
- 0.5 tsp vanilla extract
- 0.5 tsp flaky sea salt
- 0.67 cup creamy peanut butter
- 8 cup crispy rice cereal
divided
- 1 cup mini marshmallows
garnish
- flaky sea salt, for sprinkling
Instructions
- 1
Grease an 8×8-inch or 9×9-inch square baking pan with nonstick cooking spray. Set pan aside.
- 2
In a large pot, melt the butter over medium heat. Add the 16 oz bag of mini marshmallows and stir until the marshmallows are completely melted.
- 3
Remove the pan from the heat and stir in the vanilla and the sea salt. Add the peanut butter and stir until the mixture is smooth.
- 4
Add the cereal and gently stir until the cereal is well coated. Stir in the remaining 1 cup of mini marshmallows.
- 5
Transfer the mixture to the prepared pan. Lightly press the mixture into the pan, using a greased spatula. You can also lightly grease your hands and press the mixture into the pan. Don’t press too hard, you don’t want to pack the treats in the pan, or they will get hard. Sprinkle with a little flaky sea salt.
- 6
Let the Rice Krispie Treats cool before cutting, about 1 hour. Cut into squares and serve.
Nutrition (per serving)
Calorie breakdown
How this was calculated — 8 of 8 ingredients matched
Nutrition information is automatically calculated from USDA FoodData Central, so should only be used as an approximation. Actual values may vary depending on the ingredients, brands, and preparation methods used.
Open in analyzerKeyword: no-bake, peanut butter, salty, sweet
This post may contain affiliate links. Read our disclosure policy.
Share this recipe
You Might Also Like
View All →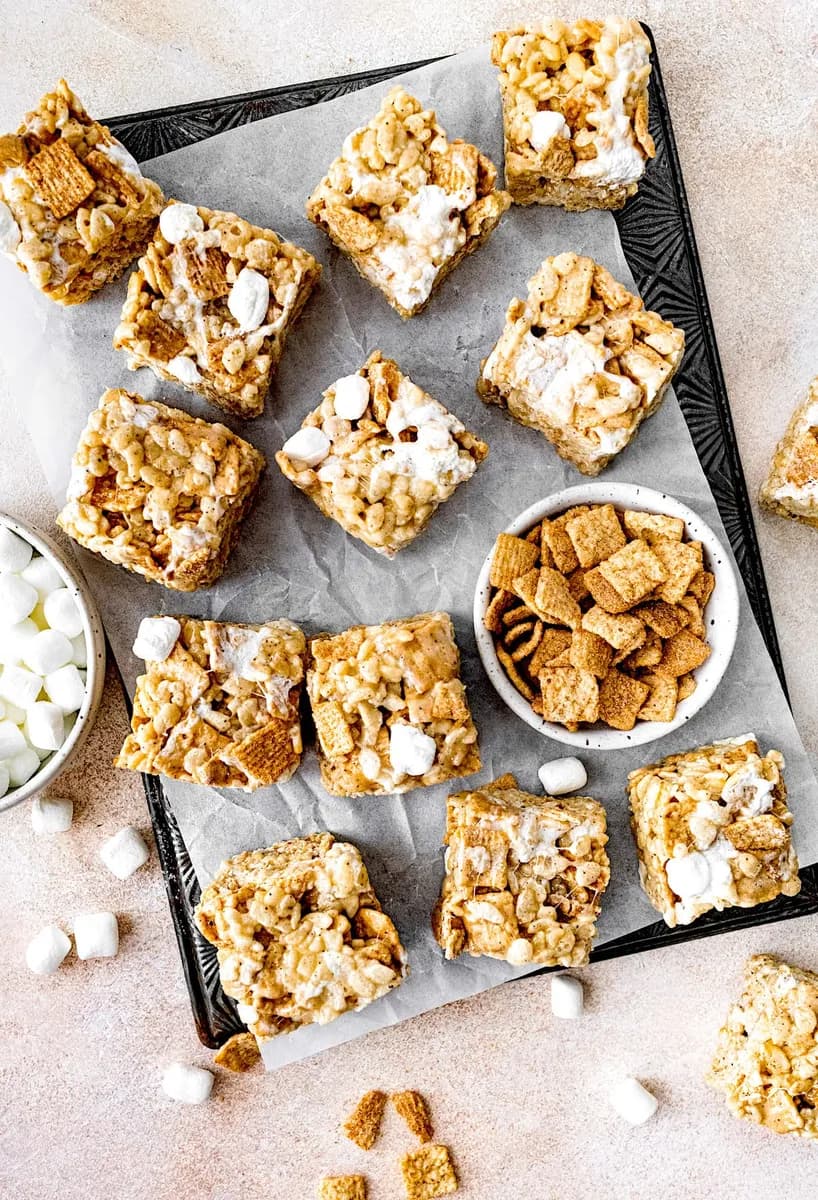

About the Author
NutriforksNutriForks is a home-cooking site built around two simple ideas: recipes should actually work, and you should know what’s in them. Every recipe pairs clear, tested instructions with a full nutrition breakdown, so healthy, everyday cooking is genuinely easy.