Chocolate Icebox Cupcakes

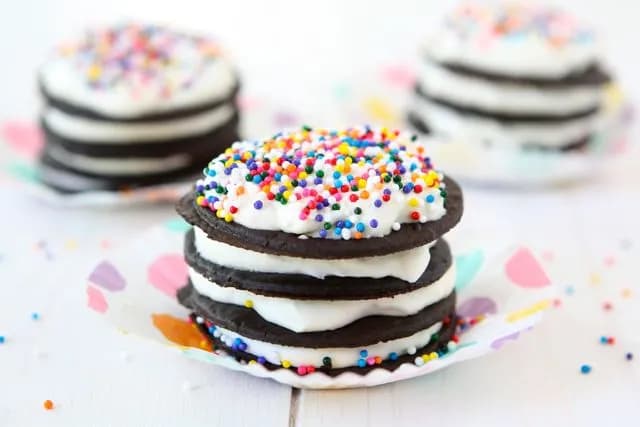
These chocolate icebox cupcakes are a no-bake twist on classic icebox cake. With only 4 ingredients, they’re the easiest dessert you’ll ever make!
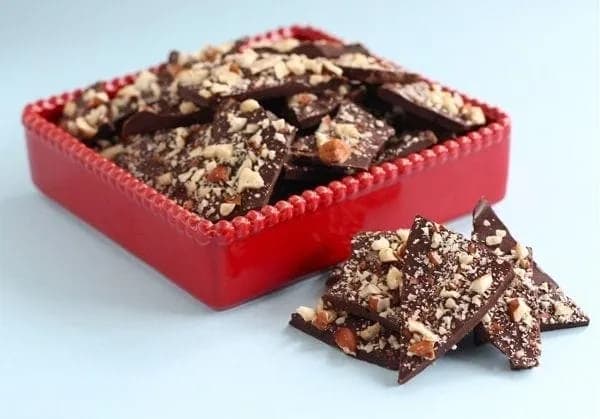
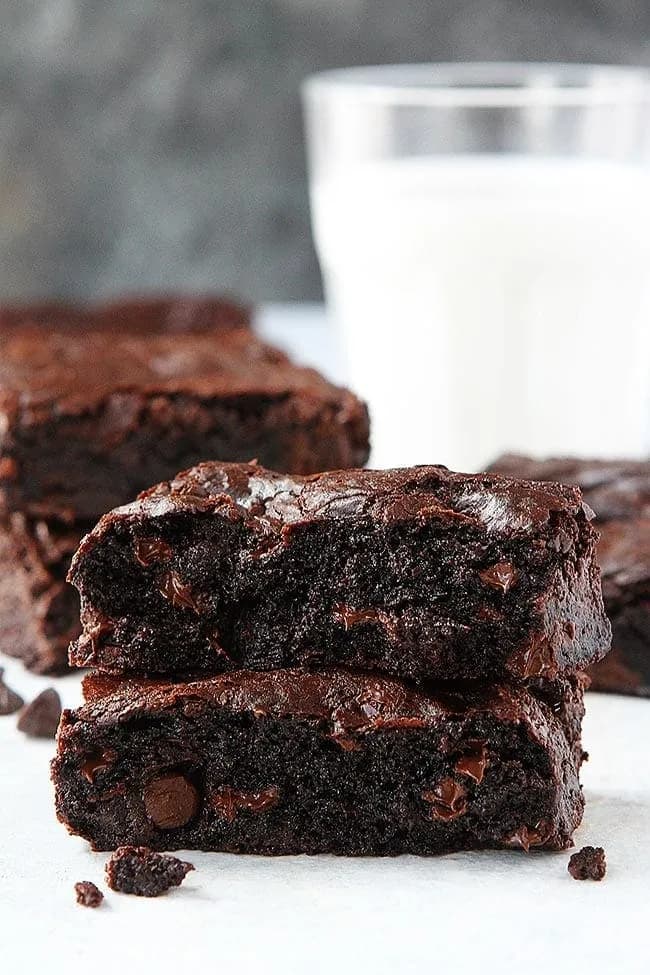
Keep exploring with Fudgy Brownie, Chocolate Hazelnut Bark, Oatmeal Cookies with White Chocolate and Dried Cranberries, or Brown Butter Banana Chocolate Chip Bars.
Why These Chocolate Icebox Cupcakes Make an Easy No-Bake Dessert
I first made these chocolate icebox cupcakes for a summer birthday party when I didn’t want to turn on the oven. The idea is simple: stack thin chocolate wafers with sweetened whipped cream, let them rest in the fridge, and the wafers soften into a tender, cake-like texture. It’s a clever twist on the classic icebox cake, but in individual portions that feel special. My daughter still asks for them every year, and I love that I can pull them together in minutes.
3 Reasons You’ll Love These Chocolate Icebox Cupcakes
- Only four ingredients and no oven required, so it’s a true no-bake dessert that comes together in under 15 minutes.
- The wafers absorb moisture from the cream and turn soft and fudgy, giving you the texture of a real cupcake without any baking.
- Each mini cupcake is easy to customize with sprinkles, chocolate shavings, or fresh fruit, making it perfect for birthdays or any celebration.
Key Ingredients for Chocolate Icebox Cupcakes
- Heavy cream: Use heavy cream with at least 36% milk fat. It whips up light and stable. Chill it well before whipping. Half-and-half or light cream won’t hold peaks.
- Chocolate wafers: Nabisco Famous Chocolate Wafers are the classic choice. They’re thin, crisp, and have a deep cocoa flavor. If you can’t find them, look for similar thin chocolate wafer cookies. Avoid sandwich cookies with filling.
- Powdered sugar: Also called confectioners’ sugar. It dissolves instantly and contains cornstarch, which helps stabilize the whipped cream. Granulated sugar would leave a gritty texture.
Kitchen Tools for Making Chocolate Icebox Cupcakes
- Stand mixer or hand mixer for whipping the cream quickly and evenly
- Large mixing bowl (chilling it beforehand helps the cream whip better)
- Rubber spatula for spreading cream and scraping the bowl
- Cupcake liners (optional but make serving and handling easier)
- Serving plate or tray to hold the assembled cupcakes in the fridge
Tips for Making the Best Chocolate Icebox Cupcakes
Whip the cream just until medium peaks form. That means the cream holds its shape but still looks soft and billowy. If you over-whip, it can turn grainy and separate. Spread about 2 teaspoons of cream on each wafer, going all the way to the edges. This helps the wafers soften evenly. Stack them gently, pressing just enough to make the layers stick. The wafers are fragile, so work slowly. After assembling, refrigerate for at least 4 hours, but overnight is even better. The longer they sit, the more the wafers soften into a cake-like texture.
Expert Tips for Perfectly Soft Chocolate Icebox Cupcakes
For the fluffiest whipped cream, chill your bowl and beaters in the freezer for 10 minutes before starting. Cold cream whips faster and holds its structure longer. The powdered sugar isn’t just for sweetness; it contains cornstarch, which helps stabilize the cream so the cupcakes don’t weep as they sit. If you want a deeper chocolate flavor, add a tablespoon of unsweetened cocoa powder to the cream before whipping. Just sift it in to avoid lumps. And don’t skip the refrigeration step. The wafers need time to absorb moisture from the cream. If you serve them too soon, they’ll still be crunchy.
Tips for Stacking Chocolate Wafers Without Breaking
The chocolate wafers are delicate and can crack if you press too hard. To avoid breakage, spread the whipped cream gently with a small offset spatula or the back of a spoon. Place each new wafer on top and press down with the lightest touch, just enough to make it stick. If a wafer does break, don’t worry. You can still use the pieces, just layer them carefully. Working over a clean surface makes it easy to catch any crumbs.
Chocolate Icebox Cupcake Variations to Try
Swap the chocolate wafers for vanilla wafers or even thin ginger snaps for a different flavor profile. If you want a minty twist, add a few drops of peppermint extract to the whipped cream and top with crushed candy canes. For a dairy-free version, use full-fat coconut cream chilled overnight and whip it the same way. You can also layer in sliced bananas or strawberries between the wafers for a fruity icebox cake. Just keep the layers thin so the structure holds.
How to Serve Chocolate Icebox Cupcakes
These cupcakes are best served straight from the fridge, but let them sit at room temperature for 5 minutes if you want a slightly softer texture. Top them with colorful sprinkles for a festive look, or add a few fresh raspberries for a tart contrast. A dusting of cocoa powder or shaved chocolate also works well. For a party, arrange them on a platter with a bowl of extra whipped cream on the side. They pair nicely with a cold glass of milk or a hot cup of coffee.
How to Store Chocolate Icebox Cupcakes
Store assembled cupcakes in an airtight container in the refrigerator for up to 2 days. The wafers will continue to soften, so they’re best within the first 24 hours. If you need to hold them longer, keep the wafers and whipped cream separate and assemble just before serving. Do not freeze these cupcakes. Freezing causes the cream to separate and the wafers to become mushy when thawed.
Chocolate Icebox Cupcakes FAQs
Can I use store-bought whipped cream instead of making my own?
You can, but homemade whipped cream holds up better and has a cleaner flavor. Store-bought whipped topping is often sweeter and contains stabilizers that can make the texture slightly gummy. If you use it, skip the powdered sugar.
Why didn’t my wafers soften after 4 hours?
The wafers need enough moisture from the cream. Make sure you spread the cream all the way to the edges of each wafer. If your cream is too stiff or you used too little, the wafers won’t absorb enough liquid. Also, check that your refrigerator is cold enough; a warm fridge slows the process.
Can I double this recipe?
Absolutely. Just scale up the cream, sugar, and vanilla proportionally. You’ll need more wafers, of course. Assemble in batches and keep the finished cupcakes in the fridge until serving. The only limit is your refrigerator space.
What if I can’t find Nabisco Famous Chocolate Wafers?
Any thin, crisp chocolate wafer cookie will work. Look for chocolate wafer cookies in the cookie aisle, or use chocolate graham crackers broken into squares. Avoid thick cookies like Oreos, as they won’t soften the same way.
Recipe
Chocolate Icebox Cupcakes

Chocolate Icebox Cupcakes-a twist on the classic icebox cake recipe. The same great dessert, but in mini form. The easiest dessert you will ever make!
Ingredients
- 2 cup heavy cream
- 3 tbsp powdered sugar
- 1 tsp vanilla extract
- 1 package Nabisco's Famous Chocolate Wafer Cookies, 9-ounce
- sprinkles, optional
Instructions
- 1
In the bowl of a stand mixer, whip the cream, powdered sugar, and vanilla together on high speed until medium peaks form.
- 2
To assemble the cupcakes, spread about 2 teaspoons of the whipped cream on top of a chocolate wafer. Place another wafer on top of the cream to make a sandwich. Spread more cream over the wafer and add another wafer. Top the final wafer with cream. You want to use four wafers per cupcake and end with cream.
- 3
Place cupcakes in cupcake liners or on a plate and stick in the refrigerator for 4 hours or overnight. The cream will soften the wafers making them soft like cake.
- 4
When ready to serve, remove the cupcakes from the refrigerator and sprinkle with sprinkles, if desired.
Nutrition (per serving)
Calorie breakdown
How this was calculated — 4 of 5 ingredients matched
Nutrition information is automatically calculated from USDA FoodData Central, so should only be used as an approximation. Actual values may vary depending on the ingredients, brands, and preparation methods used.
Open in analyzerKeyword: no-bake, No-Cook, nutFree, vegetarian
This post may contain affiliate links. Read our disclosure policy.
Share this recipe
You Might Also Like
View All →



About the Author
NutriforksNutriForks is a home-cooking site built around two simple ideas: recipes should actually work, and you should know what’s in them. Every recipe pairs clear, tested instructions with a full nutrition breakdown, so healthy, everyday cooking is genuinely easy.