Lime Bars

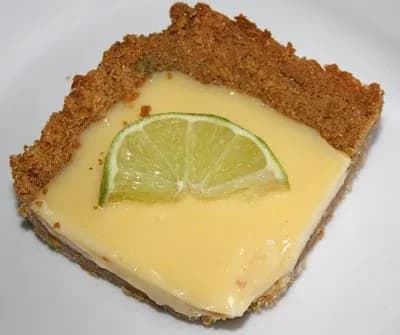
These creamy and tart lime bars with a graham cracker crust are made with fat free sweetened condensed milk. Easy to make and perfect for any occasion. Get the recipe!
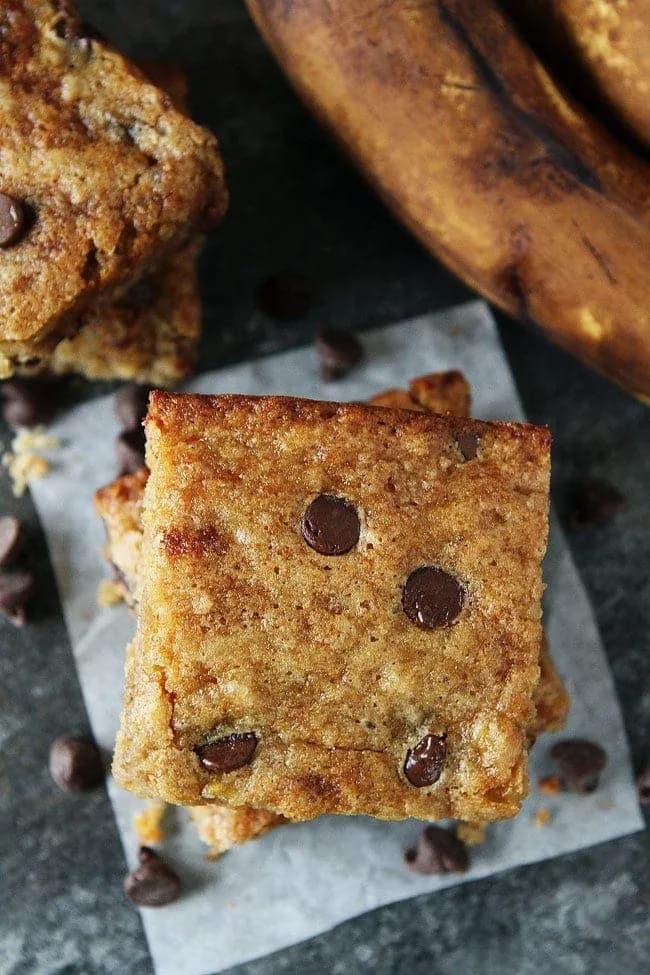
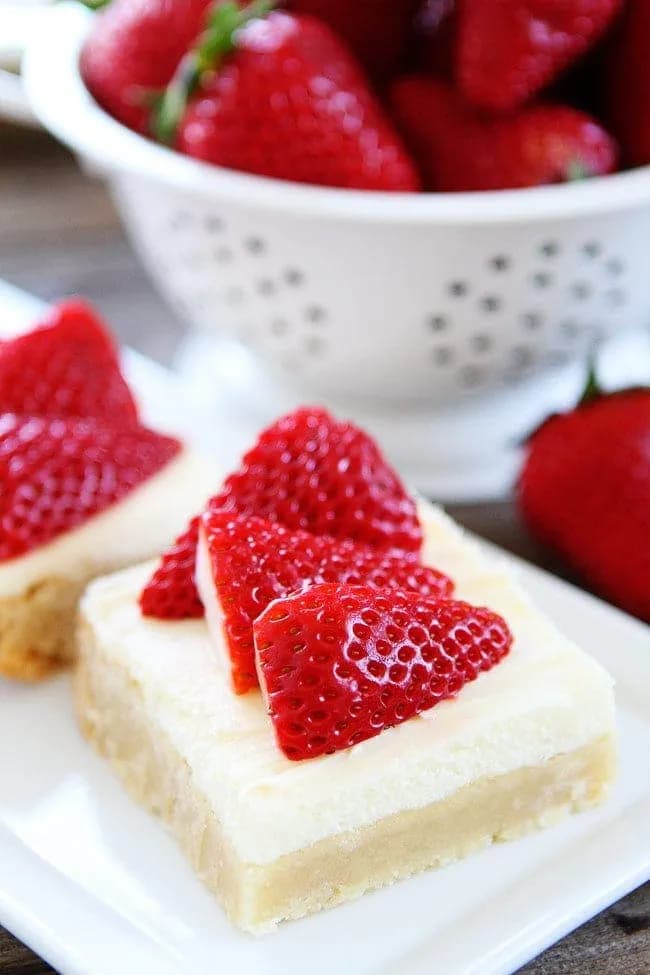
A few more worth bookmarking: Strawberries and Cream Bars, Brown Butter Banana Chocolate Chip Bars, Peanut Butter Snickers Brownies, and Key Lime Pie.
Why These Creamy Lime Bars Are So Refreshing
These lime bars are the kind of citrus dessert that hits both sweet and tart notes at once. The graham cracker crust adds a buttery crunch, while the filling stays creamy and rich thanks to fat free sweetened condensed milk. I love how the lime zest in the crust brightens every bite. My family always requests them for potlucks, and they disappear fast.
3 Reasons You’ll Love This Lime Bars Recipe
- The filling sets in just 15 minutes of baking, so you get a creamy texture without a long oven time.
- No complicated techniques, just press a crust, stir a filling, and bake.
- The tangy lime flavor is balanced by the sweet graham cracker crust, making each bar satisfying without being cloying.
Key Ingredients for Creamy Lime Bars
- Graham cracker crumbs, Use store-bought crumbs or crush your own. For a finer texture, pulse in a food processor. The crumbs bind with butter and sugar to form a sturdy crust. If you can’t find graham crackers, crushed digestive biscuits or vanilla wafers work as substitutes.
- Fat free sweetened condensed milk, This is the key to a creamy, thick filling without added fat. Regular sweetened condensed milk can be swapped, but the bars will be richer. Look for cans labeled “fat free” or “low fat”, they have the same sweetness but less saturated fat.
- Lime juice, Freshly squeezed lime juice is essential for bright, tangy flavor. Bottled juice often contains preservatives that can affect the set. You’ll need about 4-5 limes to get 1/2 cup of juice. Roll the limes on the counter before juicing to release more juice.
Kitchen Tools for Easy Lime Bars
- 8-inch square baking pan (glass or metal), Glass allows you to see the crust and filling as they bake.
- Fine grater or microplane for zesting the lime.
- Mixing bowls for crust and filling.
- Measuring cups and spoons.
- Fork or pastry blender to combine crust ingredients.
Tips for Making the Best Lime Bars at Home
When pressing the crust into the pan, take the time to push it about an inch up the sides. This creates a little wall that holds the filling in place and gives each bar a nice edge. Let the crust cool completely before adding the filling. If it’s still warm, the filling may start to set unevenly. Use fresh lime juice for the brightest flavor. Bottled juice can taste flat and may not thicken the same way.
Expert Tips for Perfectly Set Lime Bars
To know when the bars are done, look for the filling to be just set with a slight jiggle in the center. It will firm up as it cools. Overbaking can cause the filling to curdle or become rubbery. Chilling overnight is ideal because it allows the flavors to meld and the texture to become perfectly creamy. If you’re in a rush, at least one hour in the fridge will work, but the bars will slice more cleanly after a longer chill.
How to Slice Lime Bars Cleanly
To get clean, neat slices, chill the bars for at least 4 hours or overnight. Use a sharp chef’s knife and wipe the blade clean between each cut with a damp paper towel. For the first cut, dip the knife in hot water and dry it off, the heat helps glide through the filling without dragging. Cut straight down, not sawing, to avoid crumbling the crust.
Lime Bars Variations to Try
If you don’t have fat free sweetened condensed milk, regular sweetened condensed milk works fine, the bars will be slightly richer. For a tropical twist, stir in a quarter cup of shredded coconut into the filling. You can also swap the lime juice for lemon juice to make lemon bars, or use key limes for a more floral, intense lime flavor. To make a gluten-free version, use gluten-free graham cracker crumbs. The rest of the recipe stays the same.
What to Serve with Tart Lime Bars
Serve these lime bars chilled, straight from the fridge. A light dusting of powdered sugar just before serving adds a pretty finish. For extra indulgence, top each bar with a dollop of whipped cream and a thin slice of lime. They also pair well with fresh berries like raspberries or blueberries, which contrast the tartness. A cup of hot tea or iced coffee makes a nice companion.
How to Store Leftover Lime Bars
Store leftover lime bars in an airtight container in the refrigerator. They will keep well for up to 5 days. Place a sheet of wax paper between layers to prevent sticking. The bars are best enjoyed within the first two days, but they remain creamy and flavorful for the full five.
Can You Freeze Lime Bars?
These lime bars freeze beautifully. Once they are fully chilled and set, cut them into individual bars and wrap each one tightly in plastic wrap. Place the wrapped bars in a freezer-safe bag or container. They will keep for up to 3 months. To thaw, transfer a bar to the refrigerator for a few hours or overnight. Do not thaw at room temperature, as condensation can make the crust soggy.
Lime Bars FAQs
Can I use regular sweetened condensed milk instead of fat free?
Yes, regular sweetened condensed milk works perfectly. The bars will be slightly richer and creamier because of the extra fat. The baking time and temperature stay the same.
Why did my filling not set?
The most common reason is underbaking. The filling should be just set with a slight jiggle in the center when you pull it from the oven. It will firm up as it cools. Also, make sure you used fresh lime juice, bottled juice can contain enzymes that prevent proper thickening.
Can I use bottled lime juice?
I don’t recommend it. Fresh lime juice gives a brighter flavor and helps the filling set properly. Bottled juice often has preservatives that can affect the texture and taste. For best results, squeeze your own limes.
How do I prevent the crust from crumbling when slicing?
Chill the bars for at least 4 hours or overnight. Use a sharp knife and wipe the blade clean between cuts. For the first cut, dip the knife in hot water and dry it, the heat helps it glide through without dragging the crust.
Can I make these lime bars ahead of time?
Absolutely. You can make them up to 2 days ahead and keep them in the refrigerator. They actually taste better after a day because the flavors meld. For longer storage, freeze them as described above.
Recipe
Lime Bars
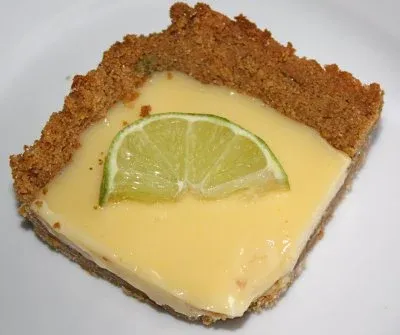
These creamy and tart lime bars feature a graham cracker crust with lime zest, made with fat free sweetened condensed milk for a rich and sweet filling.
Ingredients
crust
- 1.5 cup graham cracker crumbs
- 6 tbsp salted butter, melted
- 0.25 cup sugar
- 1 whole lime zest, zest of one lime
filling
- 2 whole egg yolks, large
- 1 can fat free sweetened condensed milk
- 0.5 cup lime juice
Instructions
- 1
Heat the oven to 350F, then grease an 8″ square pan. I used my Pyrex glass dish.
- 2
Combine the graham cracker crumbs, melted butter, sugar, and zest. Press into the prepared pan, pressing the crust mixture one inch up the side of the pan. Bake for 10 minutes. Allow to cool completely.
- 3
Once the crust is cooled combine the egg yolks and condensed milk until well mixed. Stir in the lime juice and combine. It will begin to thicken slightly.
- 4
Pour the filling into the crust, making sure the filling reaches the edges. Bake for 15 minutes, or until just set.
- 5
Cool to room temperature, then chill for at least one hour, overnight is better. Store in the fridge for up to 5 days.
Nutrition (per serving)
Calorie breakdown
How this was calculated — 5 of 7 ingredients matched
Nutrition information is automatically calculated from USDA FoodData Central, so should only be used as an approximation. Actual values may vary depending on the ingredients, brands, and preparation methods used.
Open in analyzerKeyword: bars, dessert, lime, nutFree, Oven Baked, vegetarian
This post may contain affiliate links. Read our disclosure policy.
Share this recipe
You Might Also Like
View All →

About the Author
NutriforksNutriForks is a home-cooking site built around two simple ideas: recipes should actually work, and you should know what’s in them. Every recipe pairs clear, tested instructions with a full nutrition breakdown, so healthy, everyday cooking is genuinely easy.