Granola

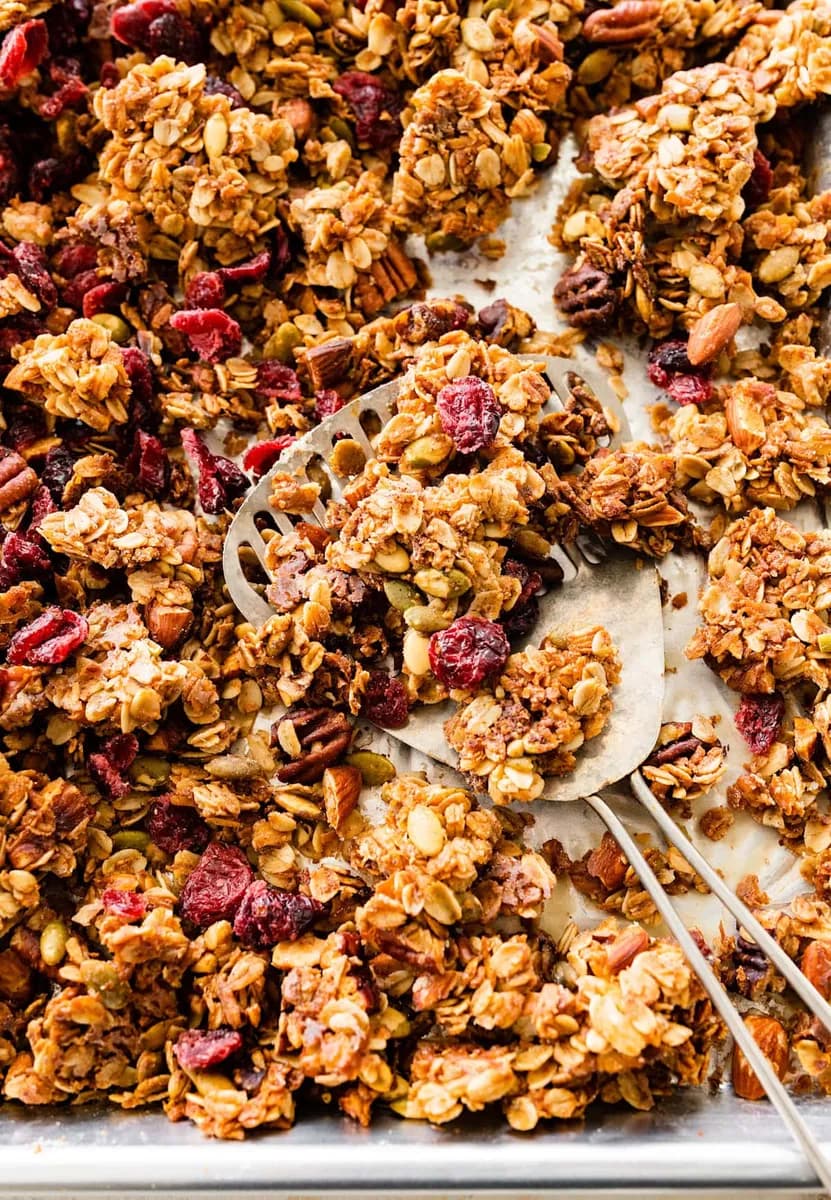
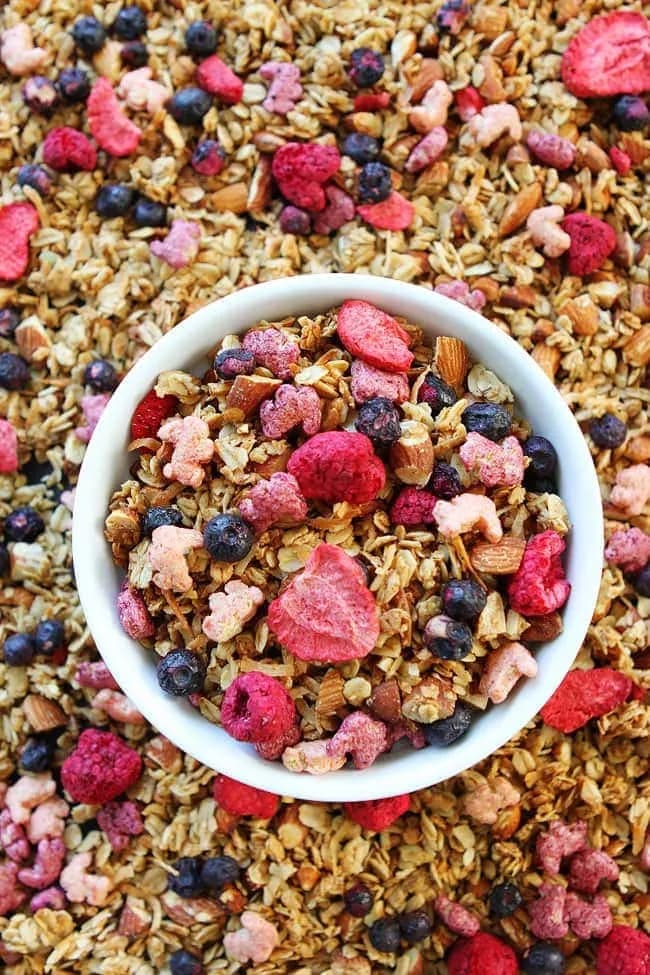
This easy homemade granola recipe is naturally sweetened with maple syrup and baked into crunchy clusters. Perfect for breakfast or snacks! Get the recipe.
Keep exploring with Coconut Granola and Berry Granola.
Why This Homemade Granola Recipe Is a Staple in My Kitchen
This homemade granola recipe combines oats, nuts, coconut, and maple syrup for a crunchy, naturally sweetened breakfast or snack. The combination of cinnamon and vanilla adds warmth, while the coconut oil helps create satisfying clusters. I keep a jar of this granola on my counter at all times, it’s that good with yogurt or by the handful.
Why You’ll Love This Easy Granola Recipe
- Naturally sweetened, Maple syrup adds sweetness without refined sugar, and you control the amount.
- Crunchy clusters, The combination of coconut oil and gentle baking forms big, crunchy clusters without any egg whites.
- Customizable, Swap nuts, seeds, or dried fruit to suit your taste, and it’s easy to make gluten-free with certified oats.
Key Ingredients for the Best Homemade Granola
- Old-fashioned oats, Use rolled oats, not quick oats, for a chewy texture that holds up during baking. They also help form clusters. For gluten-free, choose certified gluten-free oats.
- Coconut oil, Melted coconut oil coats the oats evenly and solidifies as it cools, helping bind clusters. Butter works as a substitute.
- Pure maple syrup, It naturally sweetens and acts as a binder when heated. Honey can be swapped 1:1, but it will change the flavor slightly.
Kitchen Tools for Making Granola
- Large baking sheet with rim, to prevent spills and allow even baking.
- Parchment paper, prevents sticking and makes cleanup easy.
- Large mixing bowl, for combining dry and wet ingredients.
- Spatula, for stirring and pressing the granola onto the baking sheet.
- Measuring cups and spoons, for accurate ingredient amounts.
Tips for Making Crunchy Granola Clusters
To get those coveted clusters, start with melted coconut oil and maple syrup, they coat the oats and act as binders. Mix the wet and dry ingredients thoroughly so every oat is coated. After spreading the mixture on a parchment-lined baking sheet, press it down firmly with a spatula. Bake at 325°F for 20 minutes, stir, then press down again and bake another 15-20 minutes until light golden brown. The key is to let the granola cool completely on the sheet without stirring, it hardens as it cools, forming clusters.
Expert Tips for Perfectly Baked Granola
For deeper flavor, toast the nuts and coconut flakes in a dry skillet for a few minutes before mixing them with the oats. This releases their natural oils and adds a nutty aroma. Watch the granola closely in the last few minutes of baking, ovens vary, and it can go from golden to burnt quickly. The granola will still be soft when it comes out of the oven but will crisp up as it cools. If you prefer a chunky granola, avoid stirring during cooling and break it into pieces once completely cool.
Easy Granola Variations to Try
This recipe is easy to adapt. Swap the almonds and pecans for walnuts or cashews, or use sunflower seeds instead of pepitas. For a tropical twist, replace the dried cranberries with dried pineapple and add a handful of shredded coconut. If you don’t have maple syrup, honey works too, just note it will have a different sweetness profile. Add a pinch of nutmeg or cardamom along with the cinnamon for a spiced version. For chocolate lovers, fold in dark chocolate chips after the granola has cooled.
What to Serve with Homemade Granola
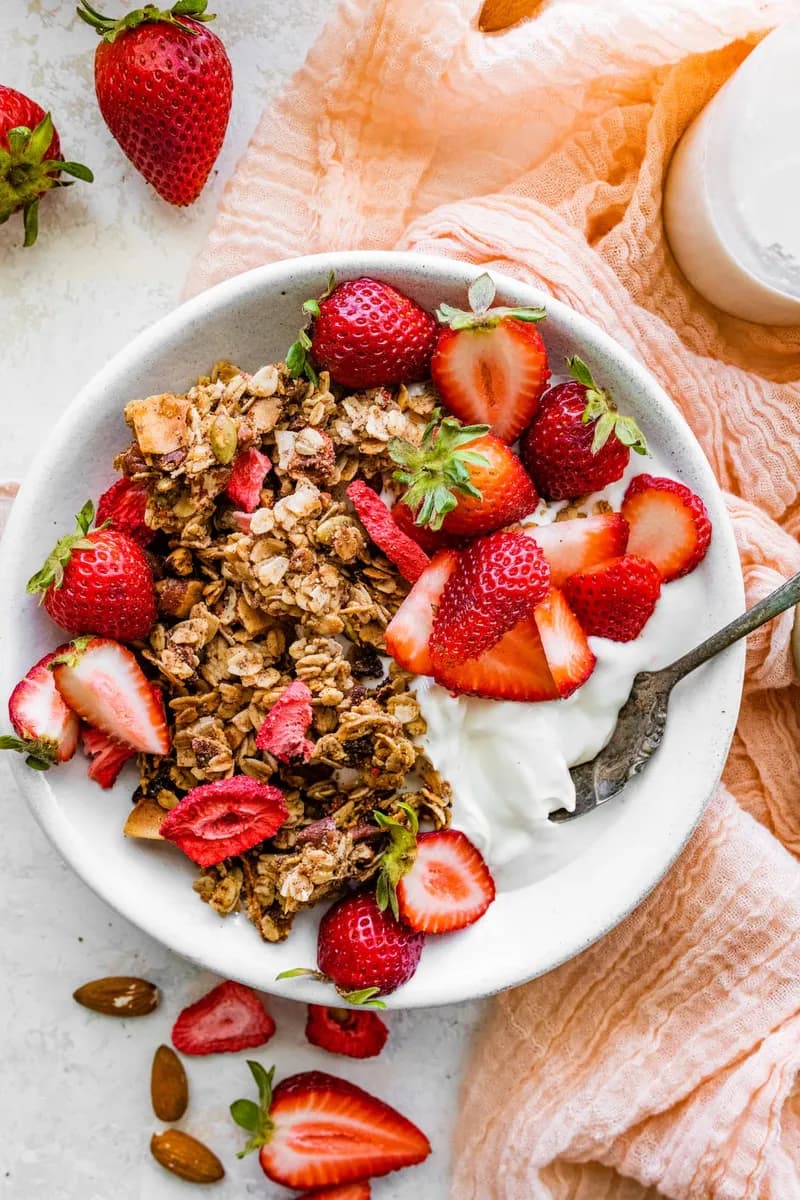
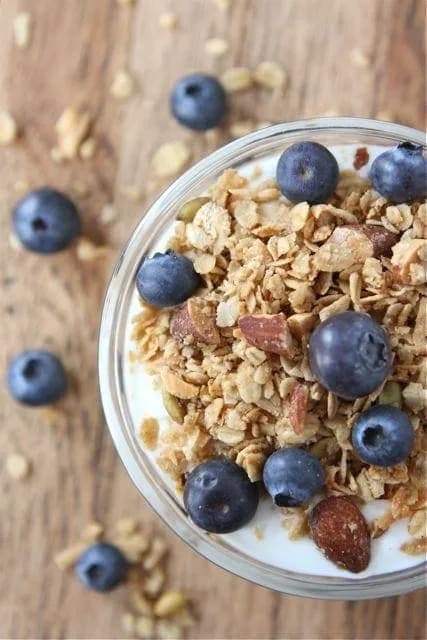
Serve this granola over thick Greek yogurt with fresh berries for a quick breakfast or snack. It also makes a great topping for smoothie bowls, overnight oats, or hot oatmeal. For a classic treat, pour milk over a bowl of granola like cereal. You can also sprinkle it over fresh fruit, like sliced bananas or apples, or use it as a crunchy topping for ice cream or frozen yogurt. For a savory twist, try it on salads, the sweet and crunchy clusters pair well with leafy greens and a tangy vinaigrette.
How to Store Homemade Granola
Store your granola in an airtight container at room temperature for up to two weeks. Make sure it is completely cool before sealing to prevent condensation and sogginess. Keep it away from direct sunlight and heat to maintain its crunch. If you live in a humid climate, you can place a silica gel packet in the container to absorb moisture.
Can You Freeze Homemade Granola?
Yes, you can freeze granola for longer storage. Let it cool completely, then transfer it to a freezer-safe zip-top bag or airtight container. Squeeze out as much air as possible before sealing. Freeze for up to three months. To serve, let it come to room temperature on the counter for about 15 minutes, it will regain its crunch without needing to reheat.
Homemade Granola FAQs
Can I use quick oats instead of old-fashioned oats?
Quick oats will absorb moisture faster and may result in a softer, less crunchy granola. They also won’t form clusters as well. Stick with old-fashioned rolled oats for the best texture.
Why is my granola not forming clusters?
Clusters form when the wet ingredients (coconut oil and maple syrup) coat the oats and act as binders. Pressing the mixture firmly onto the baking sheet and not stirring after baking are key. Also, make sure you’re using enough oil and syrup, the recipe’s ratio is designed for clustering.
Can I substitute honey for maple syrup?
Yes, honey can be used in the same amount. However, honey is sweeter and has a stronger flavor, so the granola will taste different. It may also affect the color slightly, giving a darker finish.
How do I know when the granola is done baking?
The granola is done when it is light golden brown. It will still be soft when hot but will crisp up as it cools. Watch closely in the last few minutes to avoid burning, as ovens vary.
Should I add dried fruit before baking?
No, add dried fruit after baking. Dried fruit can burn or become too hard in the oven. Stir it into the cooled granola to keep it soft and chewy.
Recipe
Granola

This easy healthy granola recipe is the best! It's made with oats, nuts, coconut, coconut oil, cinnamon, and naturally sweetened with maple syrup. Add dried fruit for extra sweetness! Serve with yogurt, milk, or enjoy by the handful!
Ingredients
- 3 cup old-fashioned oats
- 0.5 cup almonds, roughly chopped
- 0.5 cup pecans, roughly chopped
- 0.5 cup pepitas
- 0.5 cup coconut flakes
- 1 tsp ground cinnamon
- 0.5 tsp kosher salt
- 0.5 cup coconut oil, melted
- 0.5 cup pure maple syrup
- 1.5 tsp pure vanilla extract
- 1 cup dried cranberries or raisins, optional
Instructions
- 1
Preheat the oven to 325 degrees F. Line a large baking sheet with parchment paper. Set aside.
- 2
In a large bowl, combine oats, almonds, pecans, pepitas, coconut, cinnamon, and salt. Stir to combine.
- 3
Add the coconut oil, maple syrup, and vanilla extract. Stir until granola mixture is well coated.
- 4
Pour the granola onto the prepared baking sheet in even layer. Bake for 20 minutes and remove from the oven. Use a spatula to stir the granola. Press the granola into an even layer with the spatula and return to the oven. Bake for 15 to 20 more minutes or until the granola is light golden brown. Check early to make sure it isn't burning, every oven is different.
- 5
Remove from the oven and let the granola cool completely on the baking sheet. Do not stir! When the granola is completely cooled, break it up into clusters and stir in the dried cranberries or raisins, if using.
Nutrition (per serving)
Calorie breakdown
How this was calculated — 10 of 11 ingredients matched
Nutrition information is automatically calculated from USDA FoodData Central, so should only be used as an approximation. Actual values may vary depending on the ingredients, brands, and preparation methods used.
Open in analyzerKeyword: Oven Baked, vegetarian
This post may contain affiliate links. Read our disclosure policy.
Share this recipe
You Might Also Like
View All →


About the Author
NutriforksNutriForks is a home-cooking site built around two simple ideas: recipes should actually work, and you should know what’s in them. Every recipe pairs clear, tested instructions with a full nutrition breakdown, so healthy, everyday cooking is genuinely easy.