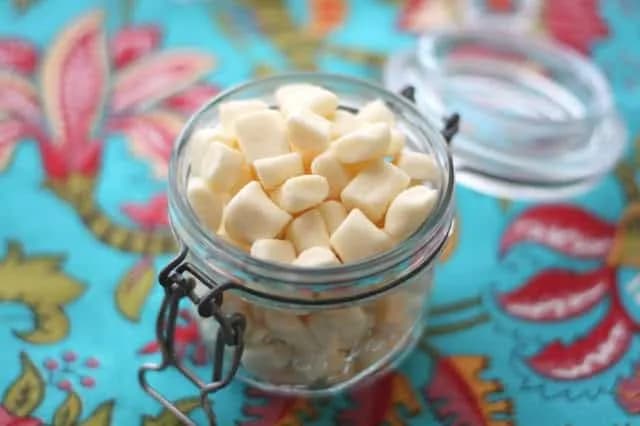

These homemade butter mints are old-fashioned, buttery, and melt in your mouth. Easy no-bake candy recipe perfect for gifts or holidays. Get the tips!
Ingredient Notes
Butter: This is the backbone of the melt-in-your-mouth texture. Use unsalted butter so you control the salt level. European-style butter (like Plugrà) has a higher fat content and gives an even silkier feel. Let it soften to room temperature before mixing.
Sweetened condensed milk: This binds the dough and adds sweetness and creaminess. Don’t substitute evaporated milk—it’s not sweet enough and will make the dough too dry. Buy a fresh can; older cans can crystallize.
Peppermint extract: Pure peppermint extract gives a clean, bright mint flavor. Imitation extract can taste artificial. Start with ½ teaspoon, taste, and add more if you like a stronger kick. You can substitute mint extract, but the flavor will be more like spearmint.
Equipment You’ll Need
Stand mixer or hand mixer: Beating the butter, salt, and condensed milk by hand is possible but tedious—a mixer makes it quick and smooth.
Pizza cutter: The easiest tool for slicing the rolled strips into tiny mints. A sharp knife works, but the pizza cutter’s rolling motion cuts through without dragging.
Baking sheet: For drying the mints overnight. Any rimmed sheet will do.
Airtight container: For storing the finished mints. A glass jar or plastic container with a tight lid keeps them fresh.
Whisk: Only needed if you’re making the chocolate version—whisk the cocoa powder into the powdered sugar to prevent lumps.
My Best Tips for Perfect Butter Mints
The dough should feel like damp sand that clumps when squeezed. If it’s sticky, add a tablespoon more powdered sugar. If it crumbles and won’t hold together, add a teaspoon more condensed milk. I once tried to skip the overnight rest and ended up with mints that squished in the tin. That drying step is non-negotiable—it firms them up so they keep their shape. For the chocolate version, whisk the cocoa powder into the powdered sugar first to avoid brown streaks. A pizza cutter makes quick work of slicing the strips into tiny pieces, but a sharp knife works too.
How to Serve These Little Mints
Set them out on a small dish after dinner—they’re a perfect palate cleanser alongside coffee or tea. I like to tuck a few into a tiny tin and give them as party favors or holiday gifts. They also look lovely on a dessert buffet next to brownies or cookies. The buttery, minty flavor is light enough to enjoy on its own, but you can also crush a few over vanilla ice cream for a quick sundae upgrade.
Storing Your Homemade Mints
Once the mints have hardened overnight, transfer them to an airtight container. They’ll keep at room temperature for up to two weeks—just keep them away from heat and humidity. In the refrigerator, they last about a month, though they’ll be a bit firmer. If you’re stacking them, place a sheet of wax paper between layers to prevent sticking.
Can You Freeze Butter Mints?
Absolutely. Arrange the hardened mints in a single layer on a baking sheet and freeze until solid, about an hour. Then transfer them to a freezer-safe bag or container. They’ll keep for up to three months. To serve, let them sit at room temperature for 30 minutes—they’ll soften slightly and regain that melt-in-your-mouth texture. Don’t thaw them in the fridge, or they may get condensation.
Frequently Asked Questions
Can I use cream cheese instead of butter?
That would give you cream cheese mints, a different candy altogether. The texture will be softer and tangier, and you’d need to adjust the powdered sugar. If you want to try, use 4 ounces of softened cream cheese in place of the butter and skip the salt.
Why are my mints too sticky?
The dough likely has too much condensed milk or not enough powdered sugar. Add powdered sugar a tablespoon at a time until the dough feels like damp sand that holds together when squeezed. Humidity can also make the dough sticky, so work in a dry environment if possible.
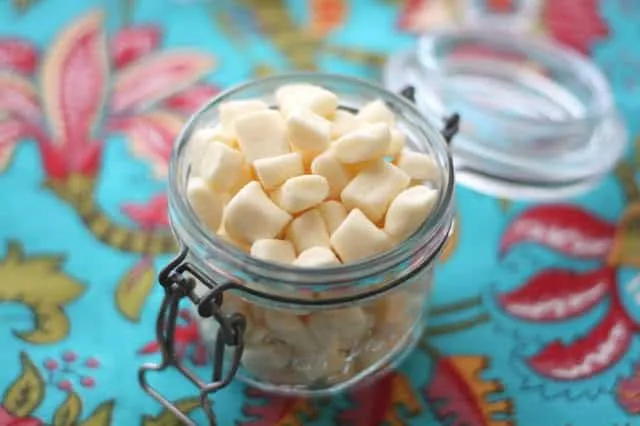
Butter Mints
Ingredients
- 0.25 cup butter softened
- 0.25 tsp kosher salt
- 0.33 cup sweetened condensed milk
- 3.25 cup powdered sugar
- 0.5 tsp peppermint extract
- 0.25 cup cocoa powder optional, for chocolate version
Equipment
- mixing bowl
- electric mixer
- pizza cutter
- baking sheet
Instructions
- In a mixing bowl, combine the soft butter and salt. Beat for a moment to combine. Add the condensed milk and beat again to combine. Add the powdered sugar a cup at a time, beating to combine thoroughly. Add the peppermint, taste and adjust as needed. The dough will be mostly crumbs, but should stick together when squeezed into a ball. It should not be sticky at all.
- Remove the dough from the mixer and pull off golf ball size sections. (At this point, you can also wrap the dough tightly and store it in the refrigerator until you are ready to roll them out.) Roll each ball out into a long skinny strip about 1/2″ in diameter. Slice the strips into tiny mint-size pieces. I used a pizza cutter to easily roll back and forth and slice them quickly.
- Alternative method (for the impatient): Roll the dough out to approximately 1/4″ thick. Use a knife or pizza cutter to slice the dough into 1/2″ (or smaller) squares. They might not be as cute or as authentic looking, but it will only take a couple minutes to cut out all of the mints.
- Spread the soft pieces across a baking sheet and allow them to sit at room temperature overnight. You could speed up the process and put them in the refrigerator uncovered. Mine were fine on the counter though. When they have hardened enough to store, transfer the mints to an airtight container. Enjoy!
- To Make Chocolate Butter Mints: Reduce the powdered sugar by the amount of cocoa powder in the recipe. Whisk the cocoa powder into the powdered sugar first, before adding the powdered sugar to the recipe. You can skip this step, but it will take a little longer to combine the cocoa powder into the finished dough.
Share this recipe
You Might Also Like
Butter Toffee Cookies
Banana, Peanut Butter and Chocolate Sandwiches

3 Ingredient Hot Cocoa Mix

About the Author
admin