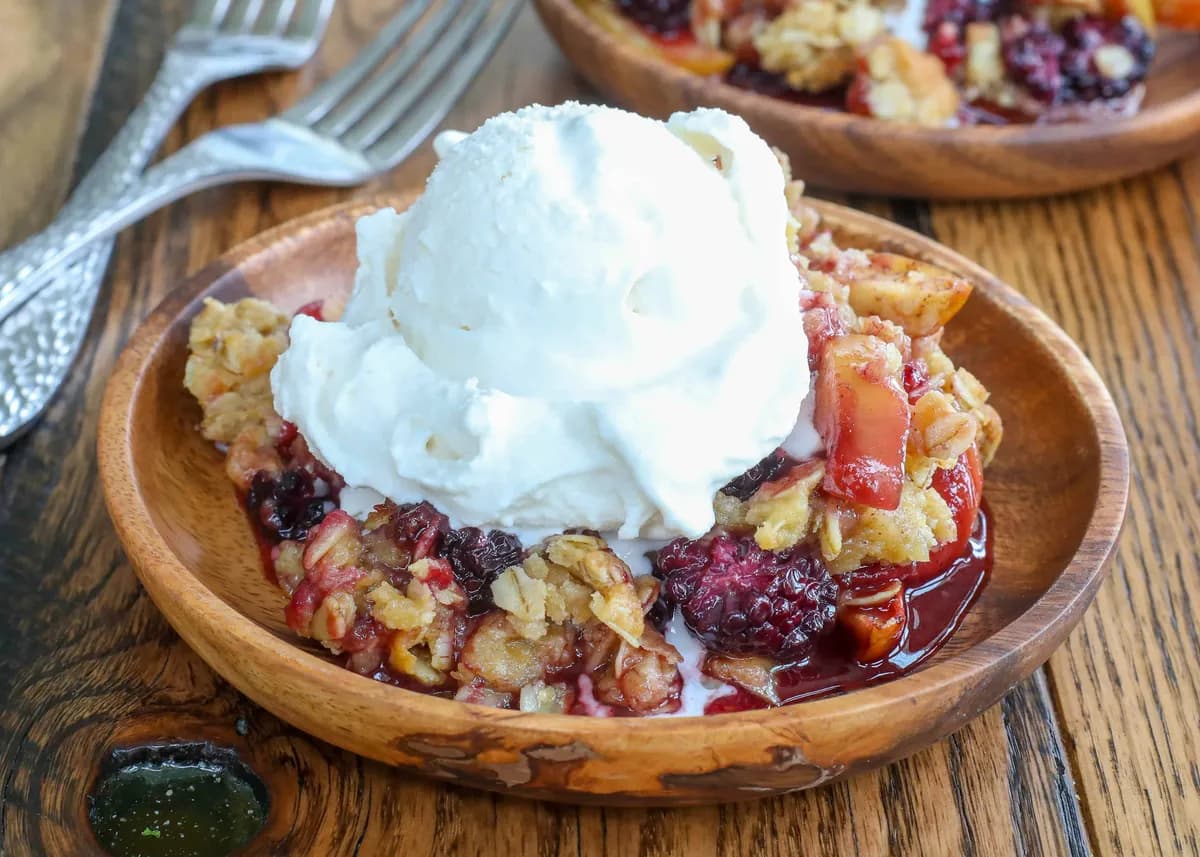

Tart blackberries are paired with sweet apples in this brown sugar and oat fruit crisp. As popular as traditional apple crisps are, this is even better.
Equipment You’ll Need
A 9×13-inch baking dish (glass or ceramic works well for even heat distribution). A large mixing bowl for tossing the fruit and another for the topping. A pastry cutter or two forks to cut the cold butter into the oat mixture—this gives you those perfect crumbly bits. A vegetable peeler if you prefer peeled apples (I leave the skin on for texture and color). Measuring cups and spoons, and a sharp knife for slicing the apples.
Tips for the Best Blackberry Apple Crisp
Tossing the fruit with cornstarch is the secret to a thick, jammy filling—without it, you’d end up with a watery mess. I’ve found that letting the fruit sit for a few minutes after stirring helps the juices start to release, which then thicken beautifully in the oven. For the topping, use cold butter straight from the fridge; if it’s too soft, the oat mixture will turn into a paste instead of forming those lovely crumbly clusters. And don’t skip the salt—it balances the sweetness and makes the fruit pop.
Expert Advice for a Perfectly Textured Crisp
Old-fashioned oats are non-negotiable here. Quick oats will turn mushy and lose that satisfying chew that makes a crisp so irresistible. When you cut the butter into the flour and oats, aim for pea-sized pieces—some smaller, some larger. That unevenness creates pockets of buttery richness that melt into the topping as it bakes. If you want an extra-crunchy top, sprinkle a tablespoon of turbinado sugar over the oat mixture just before baking. It adds a caramelized crackle that contrasts beautifully with the tender fruit.
Ways to Change Up This Blackberry Apple Dessert
Swap half the blackberries for raspberries or blueberries for a different berry blend. Add a handful of chopped pecans or walnuts to the oat topping for extra crunch and nutty flavor. For a gluten-free version, use a 1:1 gluten-free all-purpose flour blend and certified gluten-free oats—the texture stays remarkably similar. If you prefer individual servings, divide the fruit and topping among four 8-ounce ramekins and bake for about 25 minutes. A pinch of cardamom or ginger in the fruit mixture adds a warm, aromatic note that pairs beautifully with the apples.
How to Serve This Summer Fruit Crisp
A scoop of vanilla ice cream is the classic partner, and for good reason—the cold creaminess melts into the warm, bubbling fruit and crunchy topping. Whipped cream works too, especially if you add a pinch of cinnamon to it. For a more grown-up twist, drizzle a little salted caramel sauce over each serving. On the side, a tall glass of cold milk or a dollop of Greek yogurt with honey cuts through the sweetness nicely. This crisp is also fantastic the next morning with a spoonful of plain yogurt for breakfast.
Storing Leftover Crisp
Cover the baking dish tightly with foil or plastic wrap and refrigerate for up to 4 days. The topping will soften over time, but the flavor deepens as the fruit juices meld. If you want to keep the topping crispier, store the crisp uncovered in the fridge for the first hour to let it cool completely, then wrap it. Before serving, reheat in the oven (see reheating tips) to revive that crunchy texture.
Freezing for Later
This crisp freezes beautifully after baking. Let it cool completely, then wrap the entire dish tightly in a layer of plastic wrap followed by a layer of aluminum foil. Freeze for up to 3 months. To serve, thaw overnight in the refrigerator, then reheat in a 350°F oven until warmed through and the topping re-crisps—about 20 minutes. You can also freeze the unbaked crisp: assemble it in a freezer-safe dish, wrap well, and freeze for up to 3 months. Bake directly from frozen, adding 15–20 minutes to the baking time.
Reheating to Restore That Crunch
The oven is your best friend here. Place the crisp in a 350°F oven for 15–20 minutes, or until the filling is bubbly and the topping is crisp again. Avoid the microwave—it will turn the oat topping into a sad, soggy mess. If you’re reheating a single serving, a toaster oven works perfectly. For a quicker fix, you can reheat in a skillet over medium-low heat, stirring gently, but the topping won’t be as crunchy.
Frequently Asked Questions
Can I use frozen blackberries instead of fresh?
Absolutely. No need to thaw them first—just toss them in with the apples and other ingredients. You may need to add 5–10 minutes to the baking time since frozen fruit releases more liquid and takes longer to bubble.
Can I reduce the sugar in this recipe?
Yes, you can cut the brown sugar in the fruit filling by a couple of tablespoons, especially if your apples are very sweet. The topping needs the full amount for structure and browning, so I wouldn’t reduce that. Taste your fruit first—tart blackberries may need the full sugar to balance.
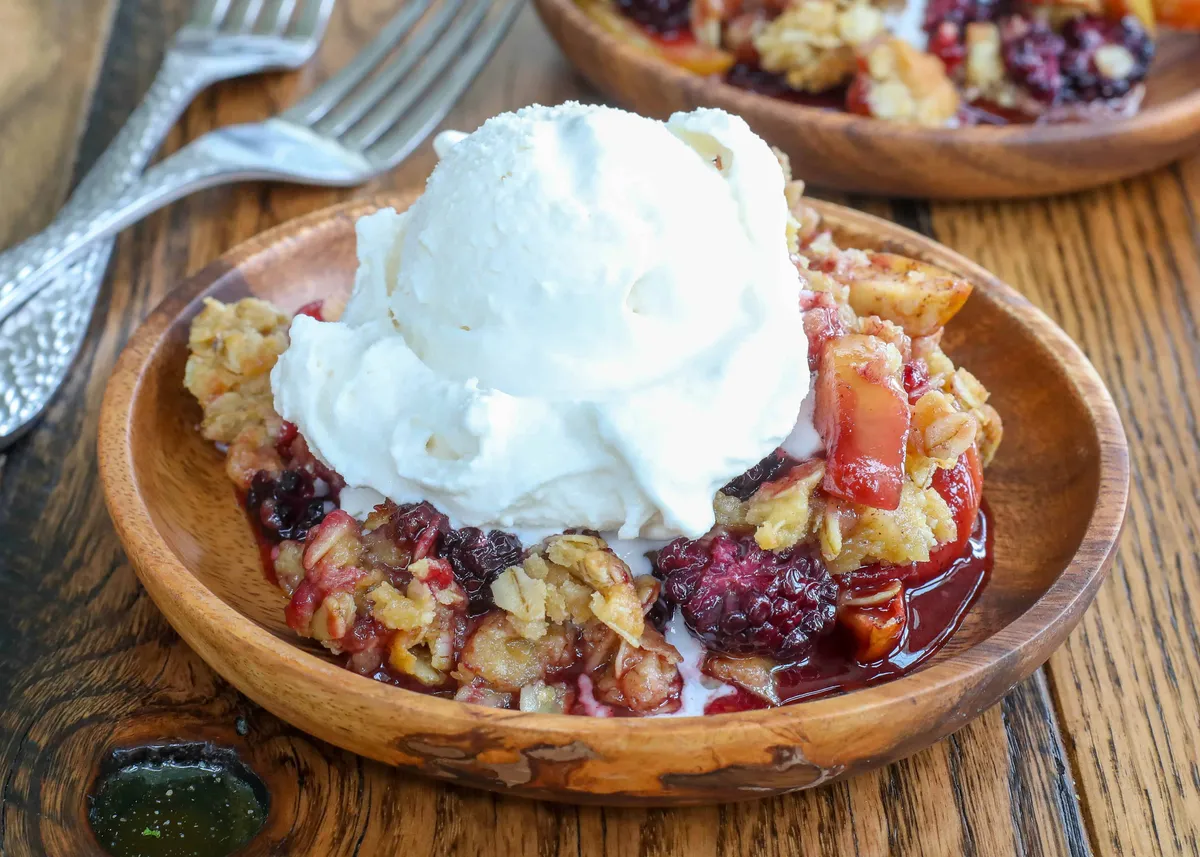
Blackberry Apple Crisp
Ingredients
- 10 oz fresh blackberries
- 3 apples sliced thin, about 3 cups worth
- 0.75 cup light brown sugar
- 0.5 tsp ground cinnamon
- 0.25 tsp ground nutmeg
- 0.5 tsp kosher salt
- 1 tbsp cornstarch
- 1.5 cup old-fashioned oats
- 1.5 cup all-purpose flour
- 0.67 cup light brown sugar
- 1 cup butter melted
Equipment
- 9×13 pan
- large bowl
- oven
Instructions
- Preheat the oven to 400°. Grease a 9×13 pan with butter. Place the blackberries and apples in a large bowl and sprinkle with the sugar, cinnamon, nutmeg, salt, and cornstarch. Stir to coat the fruit and set aside while assembling the crust and topping.
- Stir together the oats, flour, brown sugar, and butter. Pour the fruit into the greased pan and sprinkle the oat mixture on top of the fruit.
- Bake for 30 minutes, until the crust has browned and the fruit mixture is bubbling. Serve warm with vanilla ice cream or whipped cream.
Share this recipe
You Might Also Like
Brownie Ice Cream
Brown Sugar Pound Cake
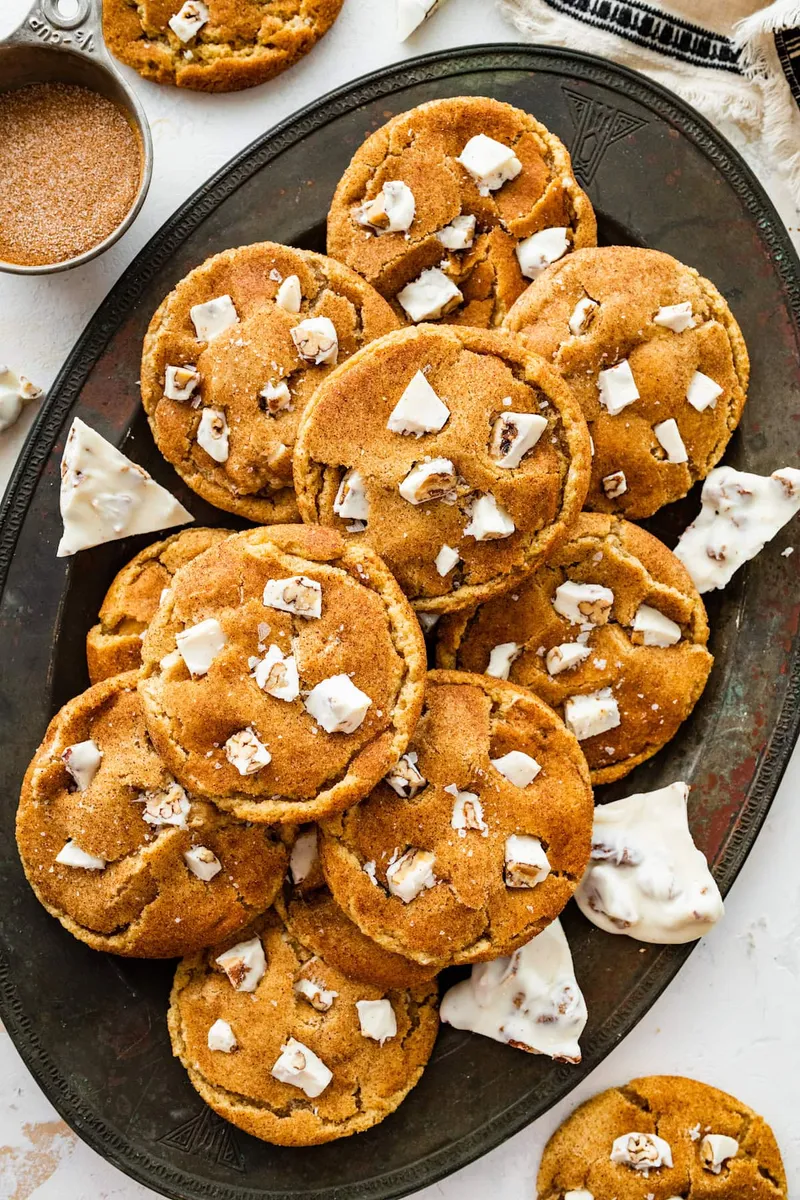
Brown Butter White Chocolate Candied Pecan Cookies
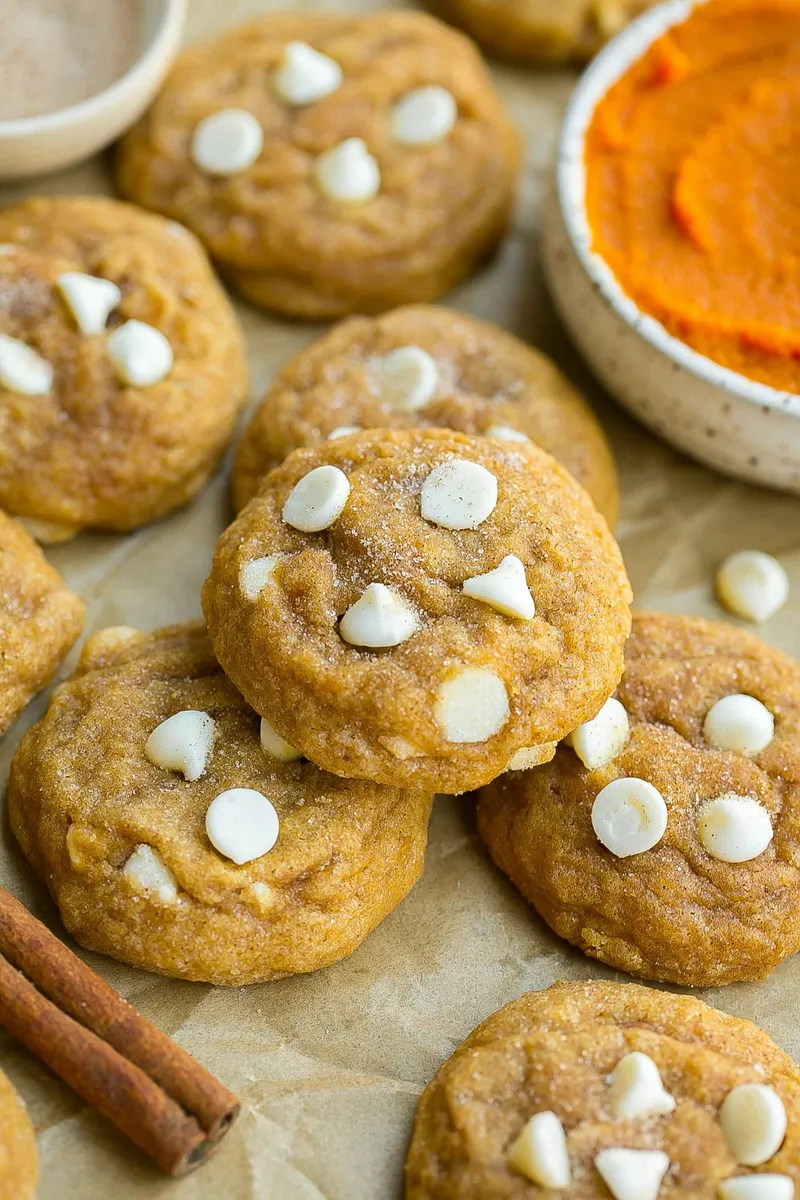
Brown Butter Pumpkin Snickerdoodles
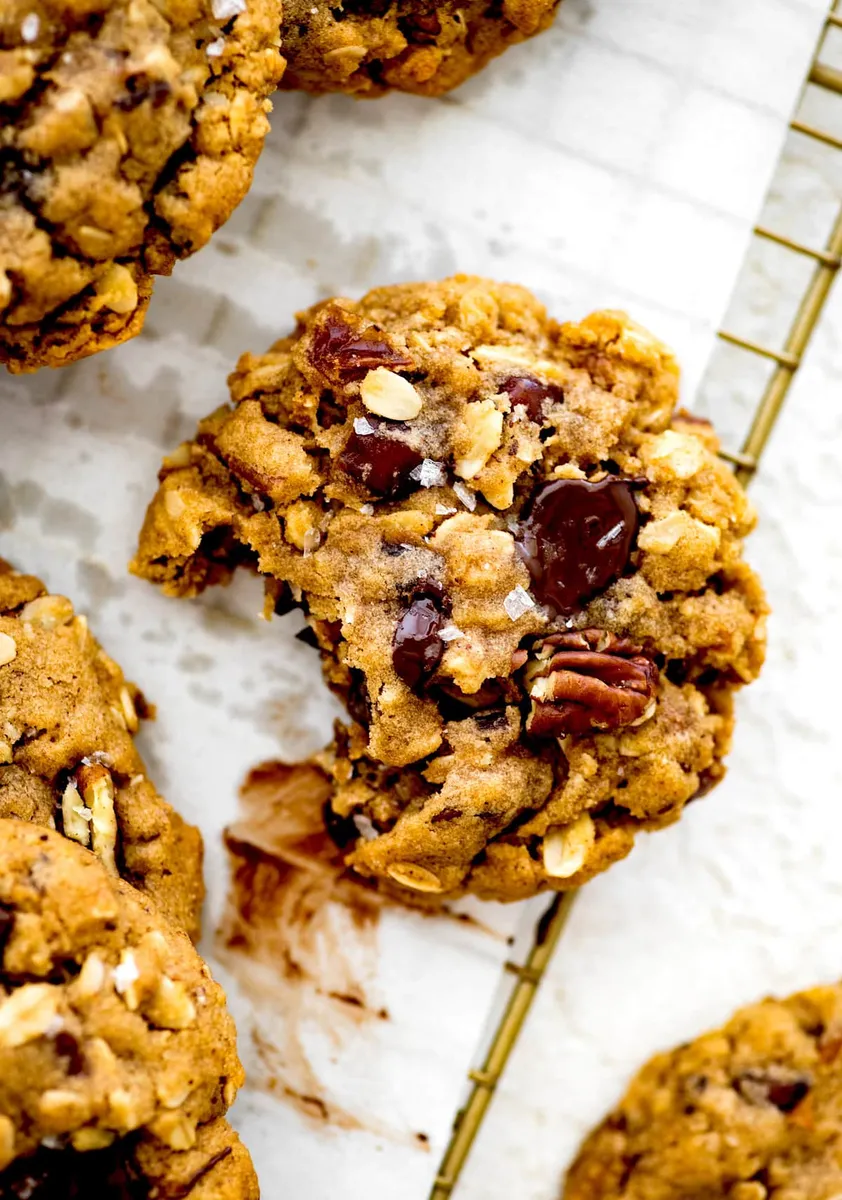
Brown Butter Oatmeal Cookies with Pecans, Dates & Dark Chocolate Chunks
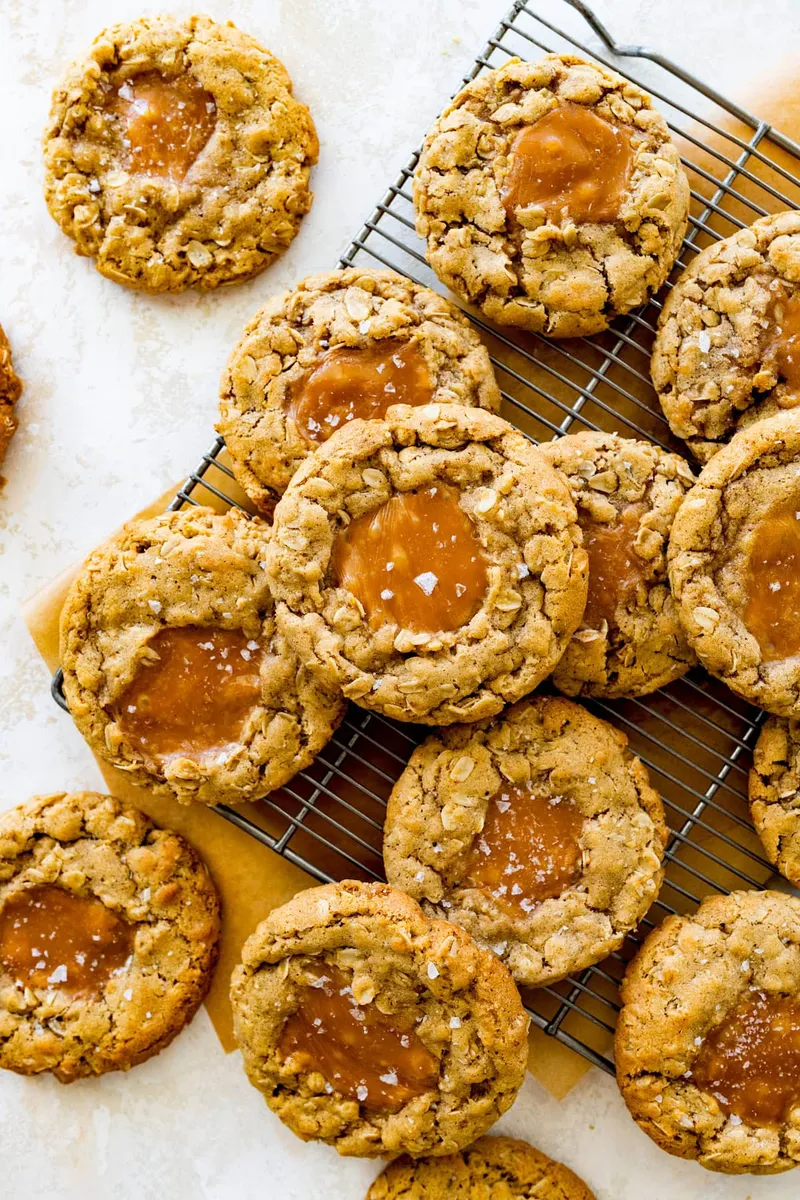

Brown Butter Caramel Oatmeal Cookies

About the Author
admin